
If you are interested in the entire process of making soft plastic lures from start to finish this will be your ultimate guide from someone who has been making soft plastics at home for 5+ years. I know this is slightly different of a post then usually shared, but I think everyone will enjoy, find something interesting, or learn a thing or two. This will be a long read! Simply, I started creating baits because I thought it was cool, and I learned through YouTube that you could make your own custom baits that were more durable and with unique color ways that you could create for any fishing situation. What started as a fun hobby, quickly turned into a business with hundreds of orders and thousands of bait bags to be produced, bagged, packaged, and shipped over the first 2 years. I have learned a lot about soft plastics, not only popular and successful shapes, sizes, and colors, across all top brands, but also plastisol formulation, heating processes, additives, and more. I have at this point put in well over 10,000 hours in making soft plastics and consider myself competent to talk about the whole process, so here it is.
It all starts with the plastisol. Just like tires are made with rubber, soft plastic baits are made with plastisol. But not all plastisol is created equally. Plastisol is made of a mixture of polyvinyl chloride (PVC) and liquid plasticizer. It is liquid at room temperature and kind of looks like elmers glue or milk, with a texture of milk. Most brands of plastisol fuse and turn into solid when heated to around 350 degrees fahrenheit. Most brands of plastisol add softener or hardener to their blends, for different bait styles. Softer blends are traditionally used for small minnows, finesse worms, and senko style baits. Harder blends are used for big swim baits, or for craws to be dragged through the thick vegetation. Before heating plastic, you can add a heat stabilizer, although you don’t need to for high quality plastisol as they add this into the mixture beforehand. Some plastisol has phthalates, which is extremely toxic while heated.
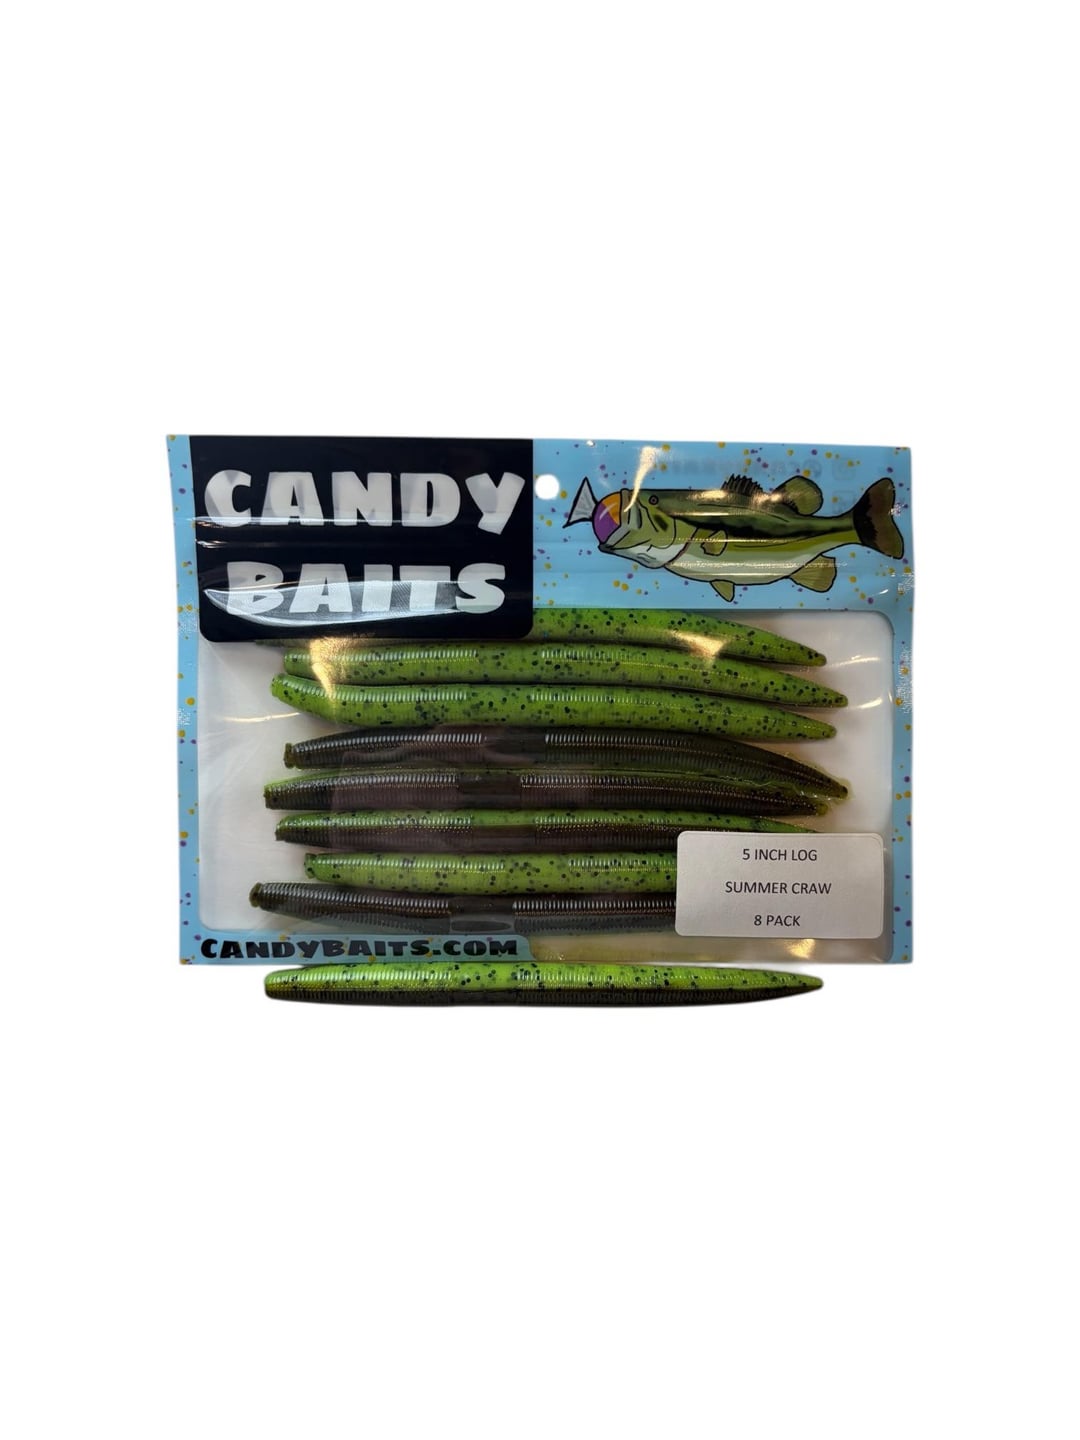
I personally use a phthalates free soft blend that is naturally sinking, without the use of salt and made to be extremely durable. There are a few components to this blend that make these baits extremely high quality, in my opinion. The plastisol blend is naturally sinking, which means it has the natural sinking rate that anglers love with many salt impregnated baits. I find that using salt drastically alters the quality of the bait. We all come to find out that our favorite salt impregnated baits are difficult to rig at times, because they tear easily and often do not last multiple strikes / catches. Pro salt bait fisherman also say that salt can help a fish stay on the bite longer, but with a durable bait, (and sharp hooks) this benefit is not worth it to me. The blend that I currently use has a very natural like sinking rate. The plastisol that I use is also very soft yet durable and can be rigged up multiple times and stays on the hook for multiple catches. Some brands we know and love, use tougher and stronger plastisol blends that are still very soft and give the natural life like action, this plastisol is not hard to find, is locally sourced, and you could start making your own baits today! I personally use dead on plastix black label blend, as this is a premium blend that is comparable down to the molecule of the top name brand soft plastic companies. I support this business because they are a USA business and leader in the industry, when it comes to plastisol many agree they are the best.
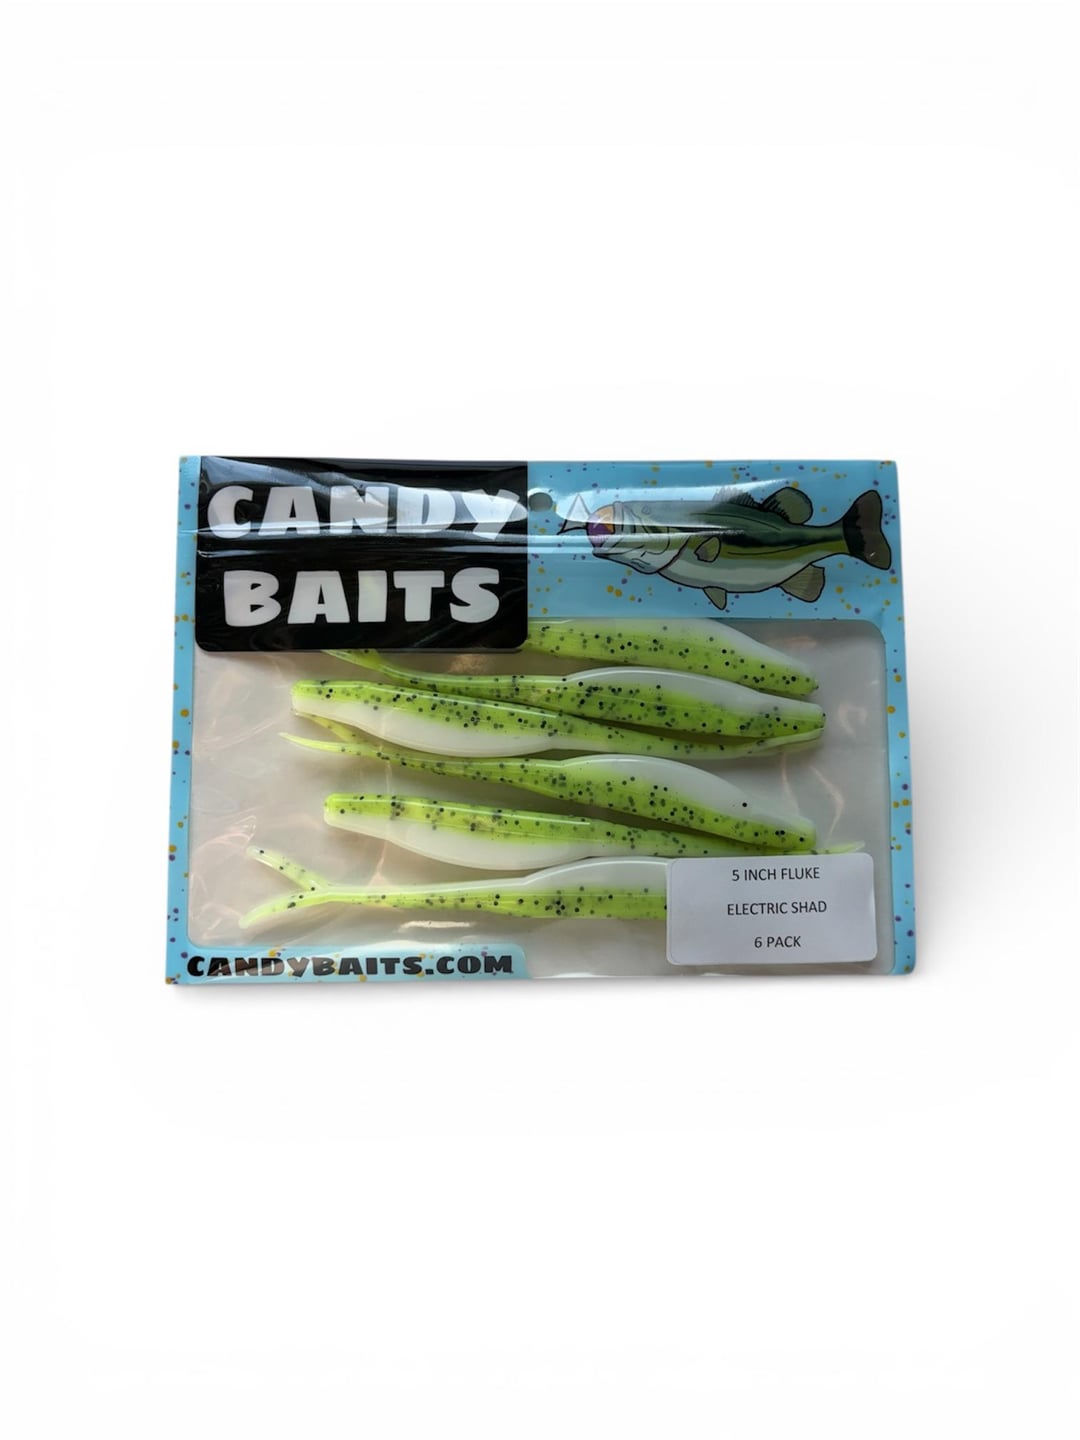
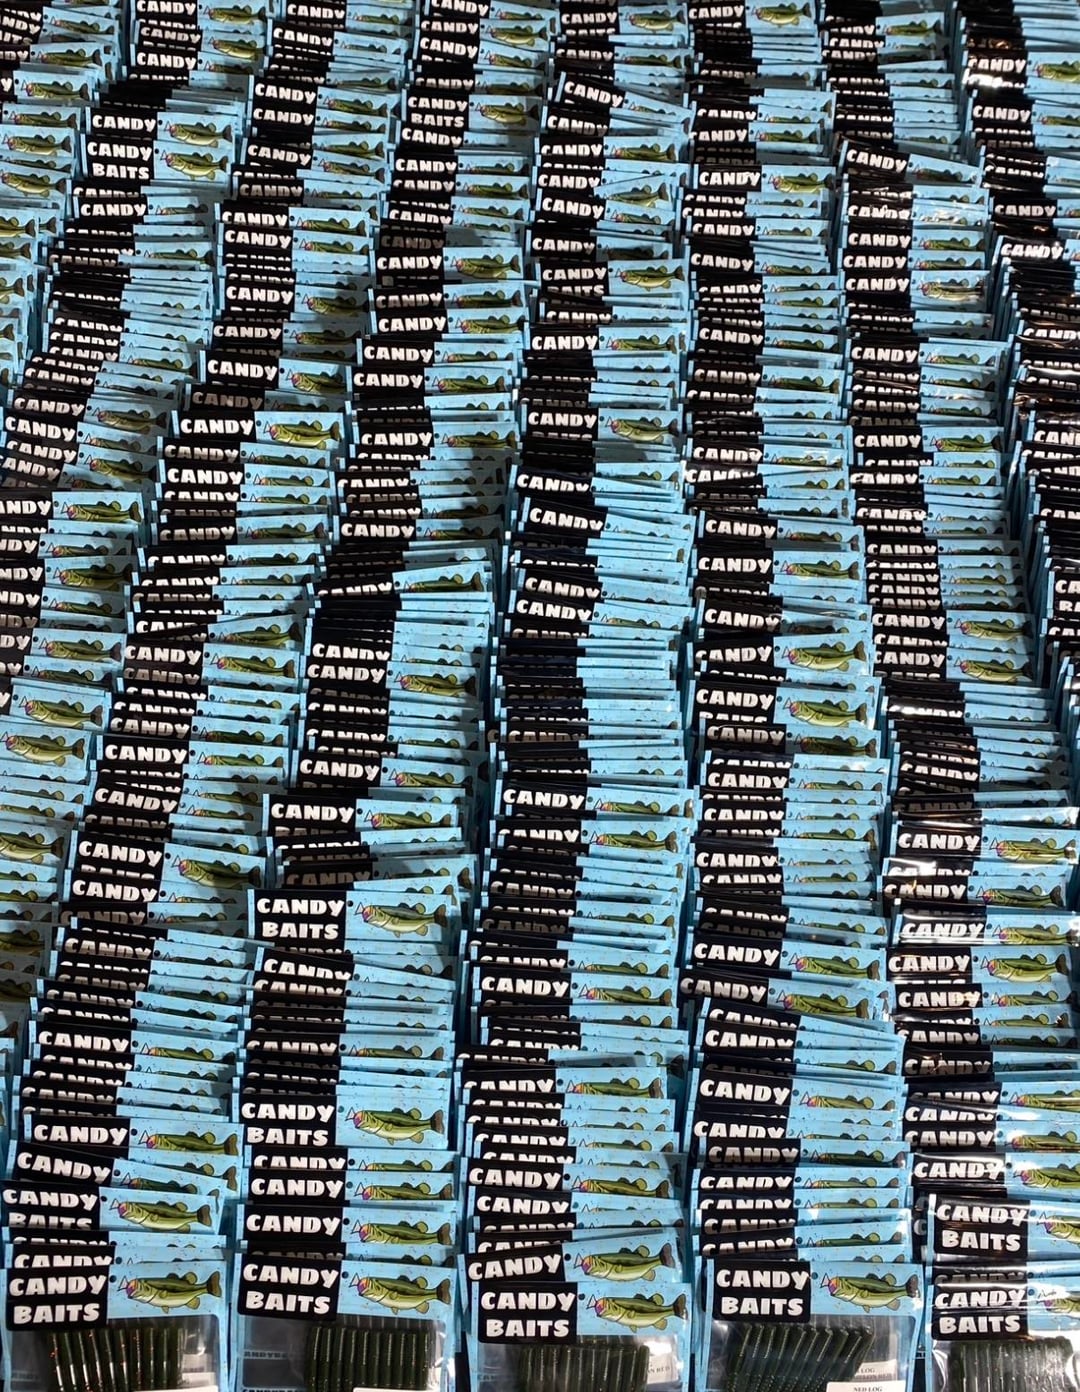
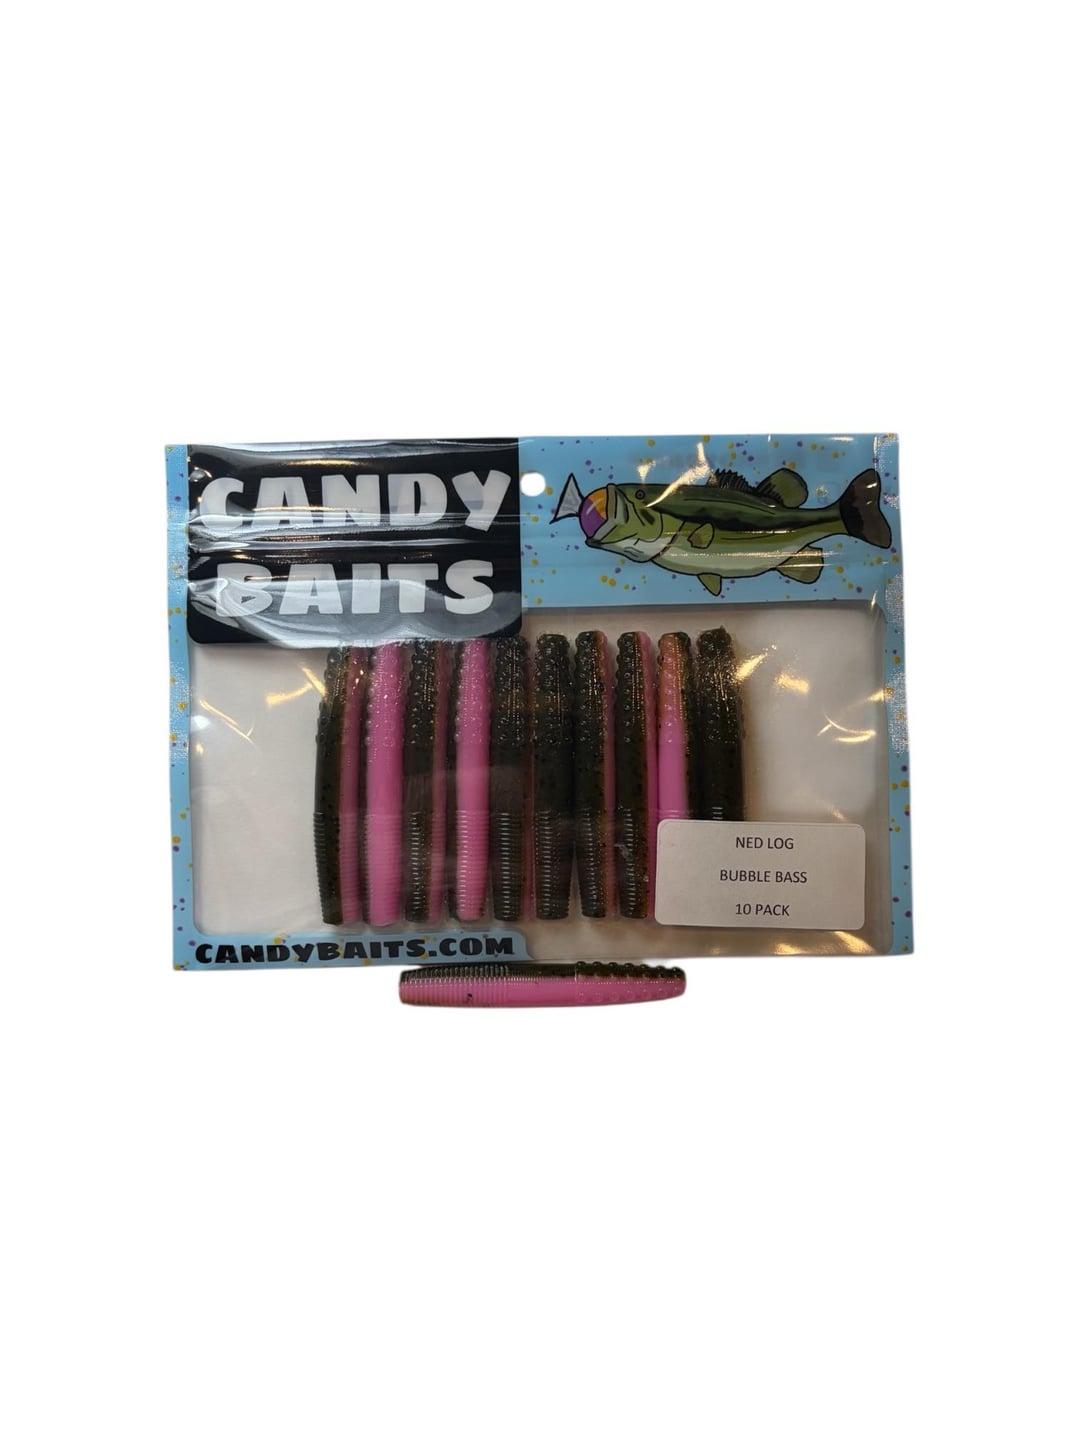
Plastisol usually comes in 5 gallon buckets. When you start each bait making session you want to make sure your plastisol is properly mixed. When it sits, the mixture of polyvinyl chloride (PVC) and liquid plasticizer separate, and you need to recombine them. This is easy and can be done with slow stirring with a meter stick or a hand mixer for about 5 minutes. When separated it looks clear, when ready to be used the plastisol will look and be the consistency of whole milk. You always want to make baits in a garage, or with a window open in a well ventilated area. Always wear hand and eye protection and a respirator is recommended in the odd case you burn the plastic, which is the only way it is toxic to you in the heating process. Although I do not recommend smelling the fumes anyways. It is usually easiest to scoop plastic out with 1 cup measuring cups. Most bait makers heat plastisol in pyrex measuring cups. I find it easiest to heat 4-8 cups at a time, depending on microwave size. I prefer to do it in 1 4-cup pyrex measuring cup at a time. You can also use crock pots to heat plastisol, although I find those best for keeping plastic at a reasonable temp for injecting bc it takes too long to heat the plastic to reach it’s temp. Plastic must be heated to 350 Degrees in order to be ready to to be injected. It typically takes 6-8 minutes for 4 cups to reach 350. At 350 degrees the plastisol will become completely clear. At this point you want to make sure to stir the plastic completely. This is when you add color dye, color pigments, and glitter flakes. Just like plastisol, there is higher quality options for colors and glitter on the market. A lot of home bait makers use lure works, and I find their products to be amazing. They are vibrant, heat resistant, very saturated, and look great. Usually 10 drops of color dye and 1 tablespoon of glitter per 1 cup of plastic is the sweet spot blend that I have found. Add and stir carefully, as the plastic reaches 350 degrees and cools off slightly but slowly. High quality plastisol will have few air bubbles, but if your bucket is old some oxygen may get into the mixture. I like to let the plastic sit for about a minute for all air bubbles to come to the surface and they usually disappear or you can remove them with a spoon. If your plastic has a lot of air bubbles, or what I do anyways is use a vacuum chamber to remove all air bubbles from the mix, this typically takes about 4 minutes. At this point you may need to reheat your plastic, but it is usually around 280-290 degrees, which is actually the perfect temperature to inject your plastic into the aluminum molds. If your plastic is too hot when you inject it, the baits could have a bad finish and if you inject too cold, the plastic will cool before it gets to the end of the runners and will not fill up the bait molds. The finish on the aluminum molds matter, as premium finishes are more expensive but produce a very shiny and glossy finish on the bait. You use a tube aluminum injector to take the plastic from the cup and then inject it into your molds. You want to be extremely careful and inject each mold slowly and fully before moving on. I have a large injector that takes 4 cups at a time. Once injected, the baits actually harden and are ready to be removed within 2-3 minutes. If the molds are hot from making a lot of baits repeatedly you have to wait a minute or two longer. You are not done here, because the baits need to cure for 24 hours before they can be bagged. Once you open the molds, you want to pick them off of the runners and lay them flat on a baking sheet, or hang them for 24 hours. If you set the bait crooked, it will cure crooked, you need to be very careful when hanging / laying baits to cure and wait the entire 24 hours. The cool thing about plastisol is it can be reheated, so you can take the runners, and the leftover plastic in the cups or in the injector and reheat it to be injected again. When reheating, you do not need to reach 350 degrees, only an injectable temp which is usually around 300 degrees. After 24 hours use a little bit of worm oil and bag up your baits, add labels, add the inventory to the store, and fulfill and ship orders. Making baits is a very fun process to me, I enjoy every aspect. I find the most enjoyable aspect is seeing the pictures of the anglers who catch fish with my baits. It makes me happy knowing something I produced brings a shared joy to others. I tried to talk about everything but I am sure I missed some, I hope you all enjoyed this it took a few hours to type out my thoughts. If you have any questions or want to learn more please comment or message me! If you want to try out some baits please head over to my shop candybaits.com
Posted by Redditmorg
1 Comment
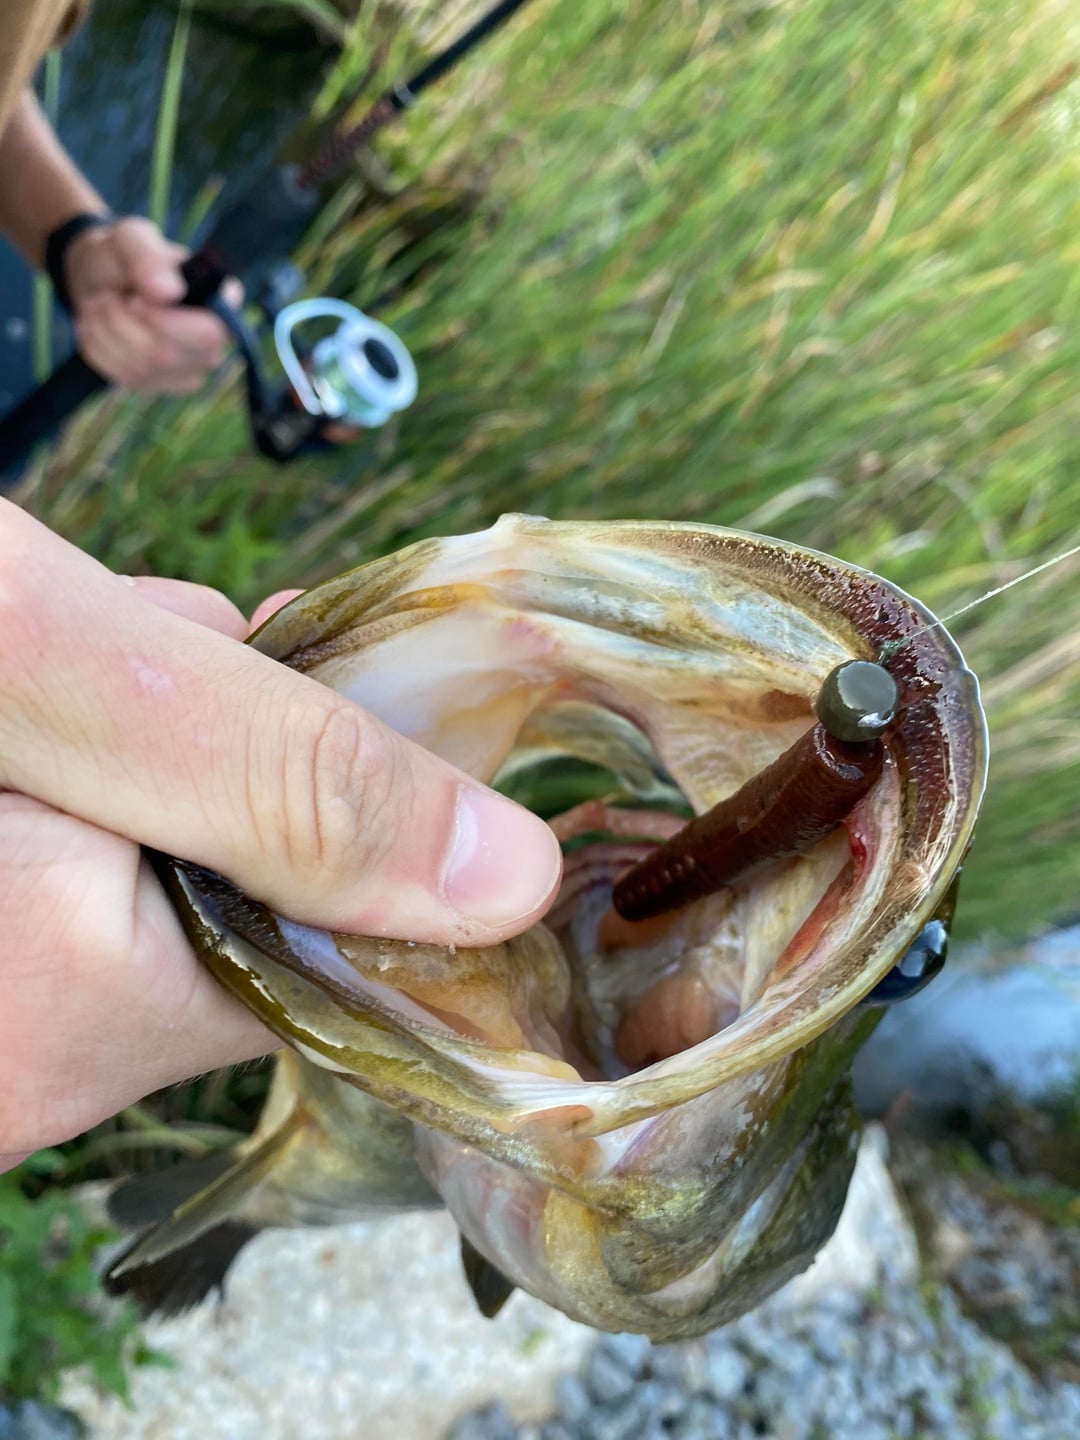
I do surf fishing would love to try out some of your fluke and put them to the test